Isn’t it wonderful to bake our own bread at home? Making a sandwich or burger with home-made bread gives such a satisfying and comforting feeling, right? 🙂 Well, I love making my own bread, especially when it can be made healthy with all the ingredients available at home, I do not consider buying it from elsewhere. Bread is pretty much available in every home these days. It is a quick breakfast option and also a savior for busy days.
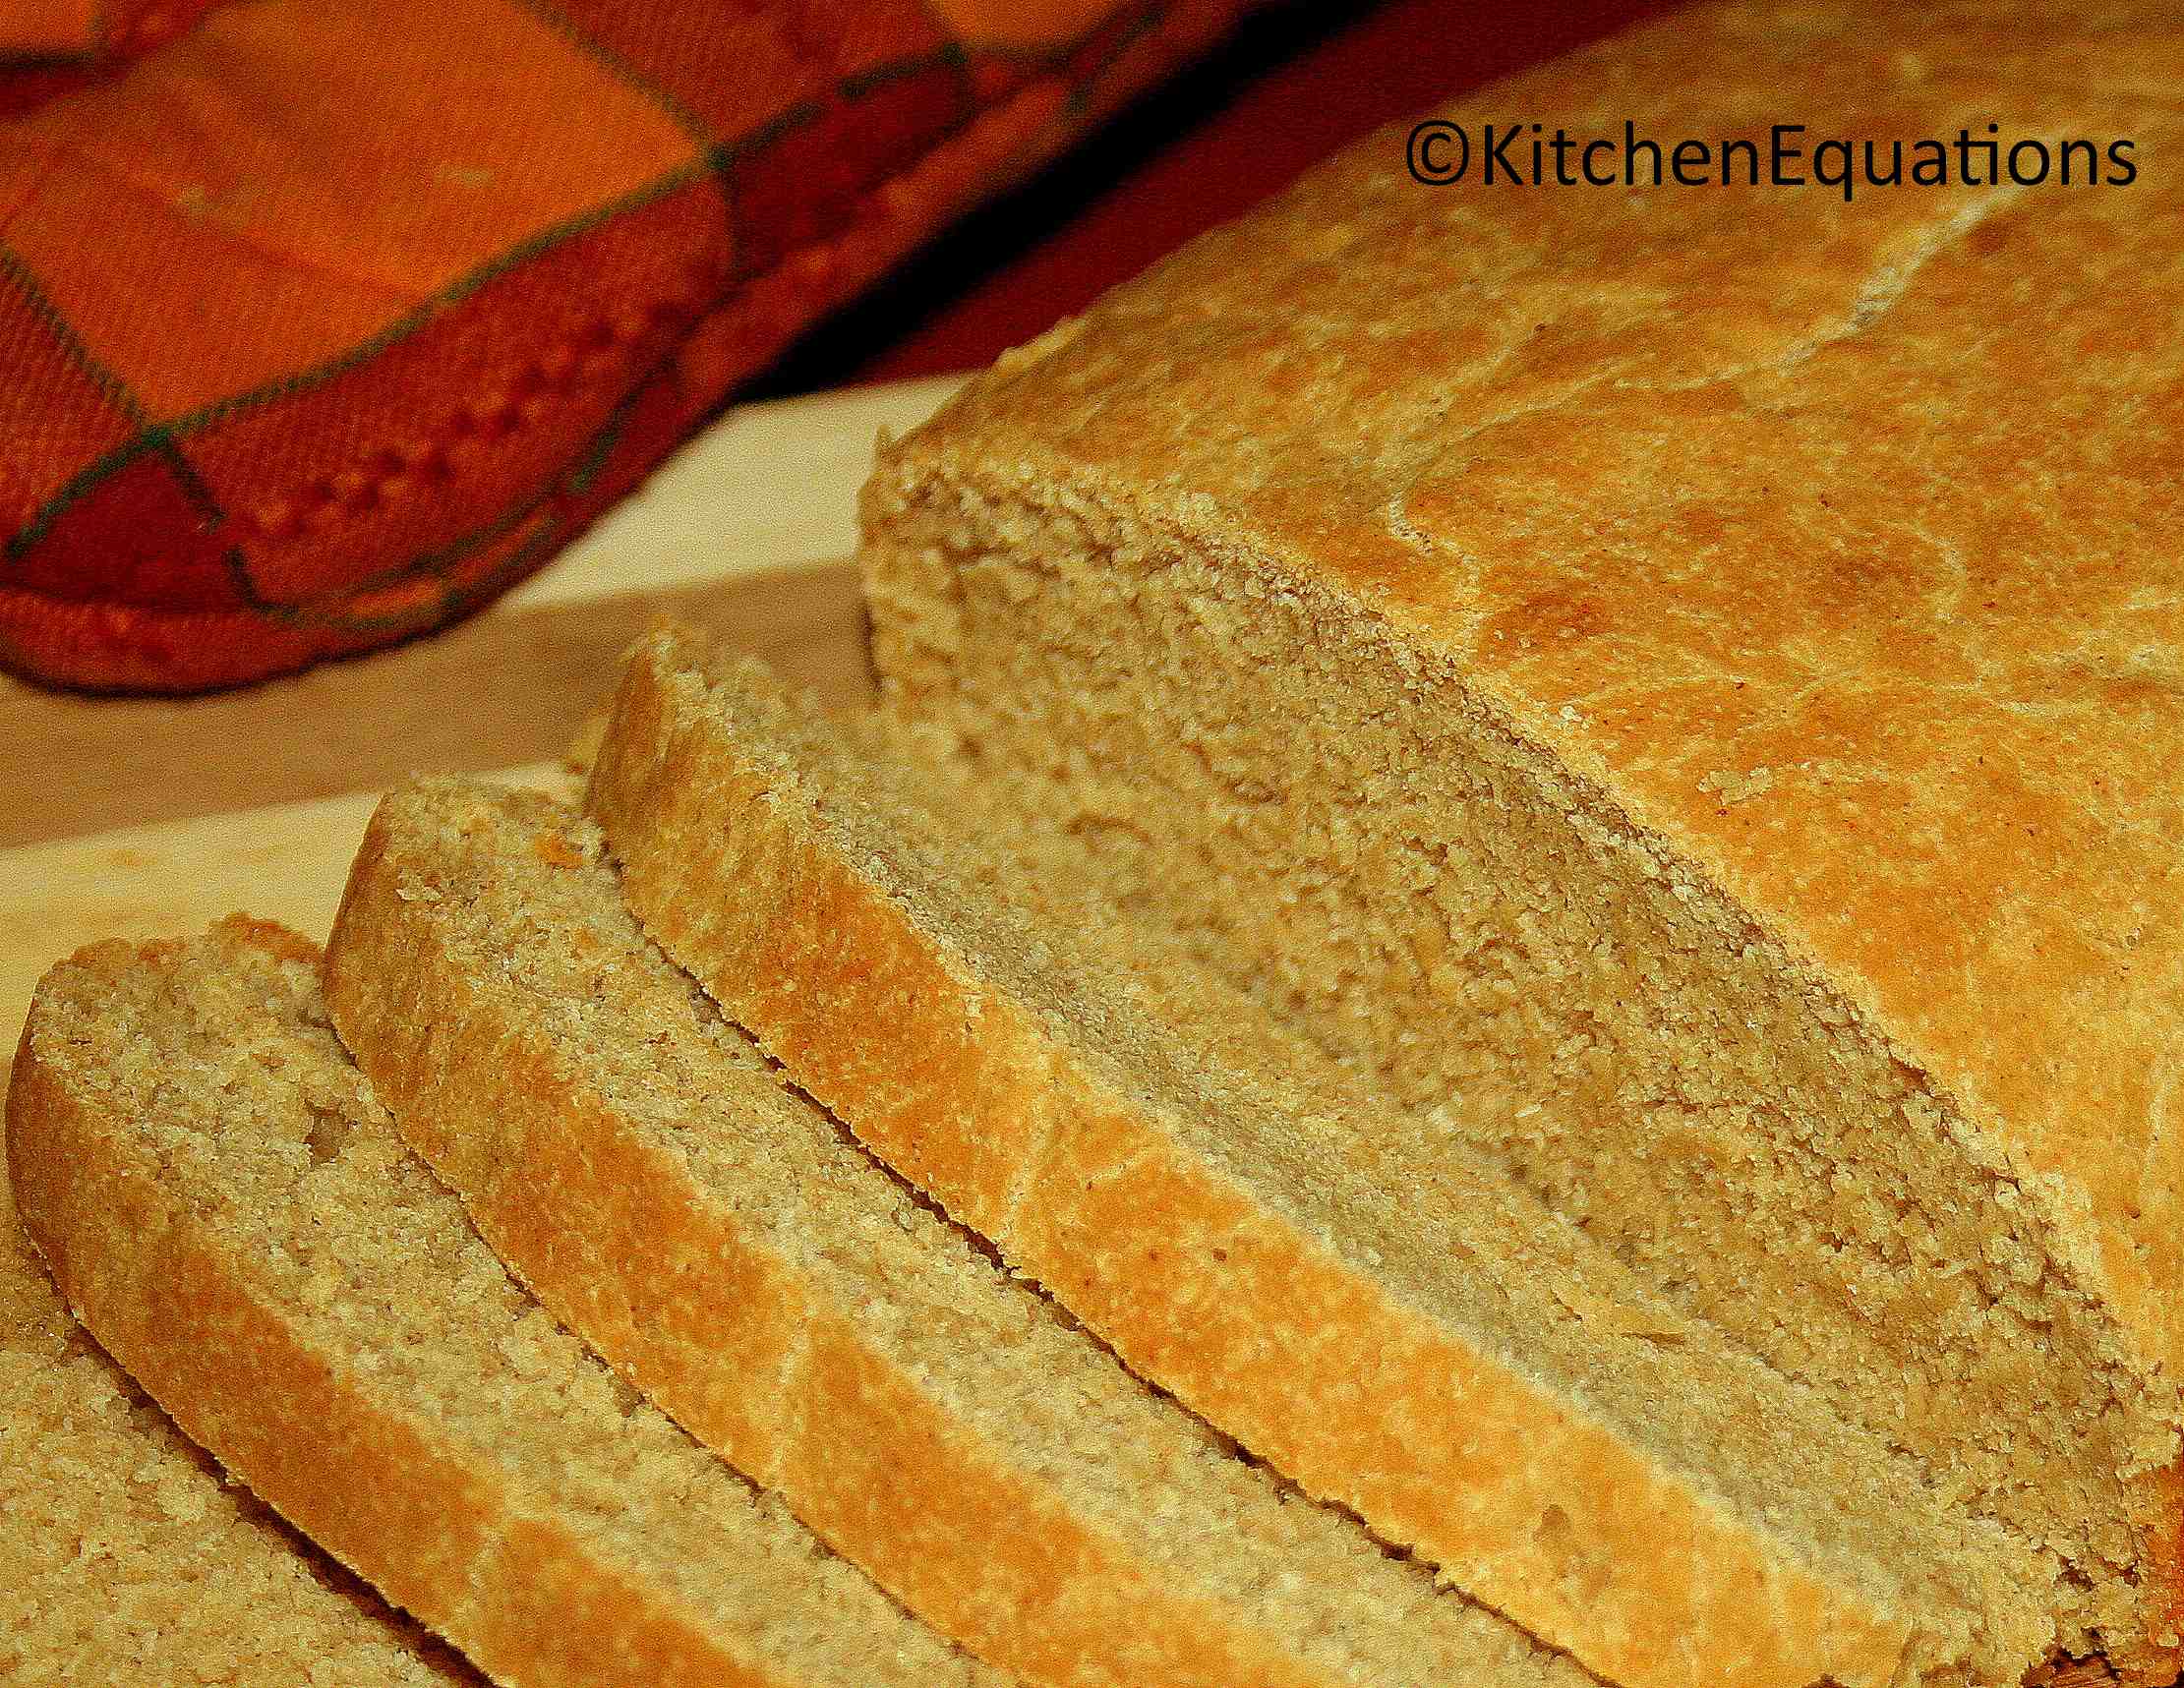
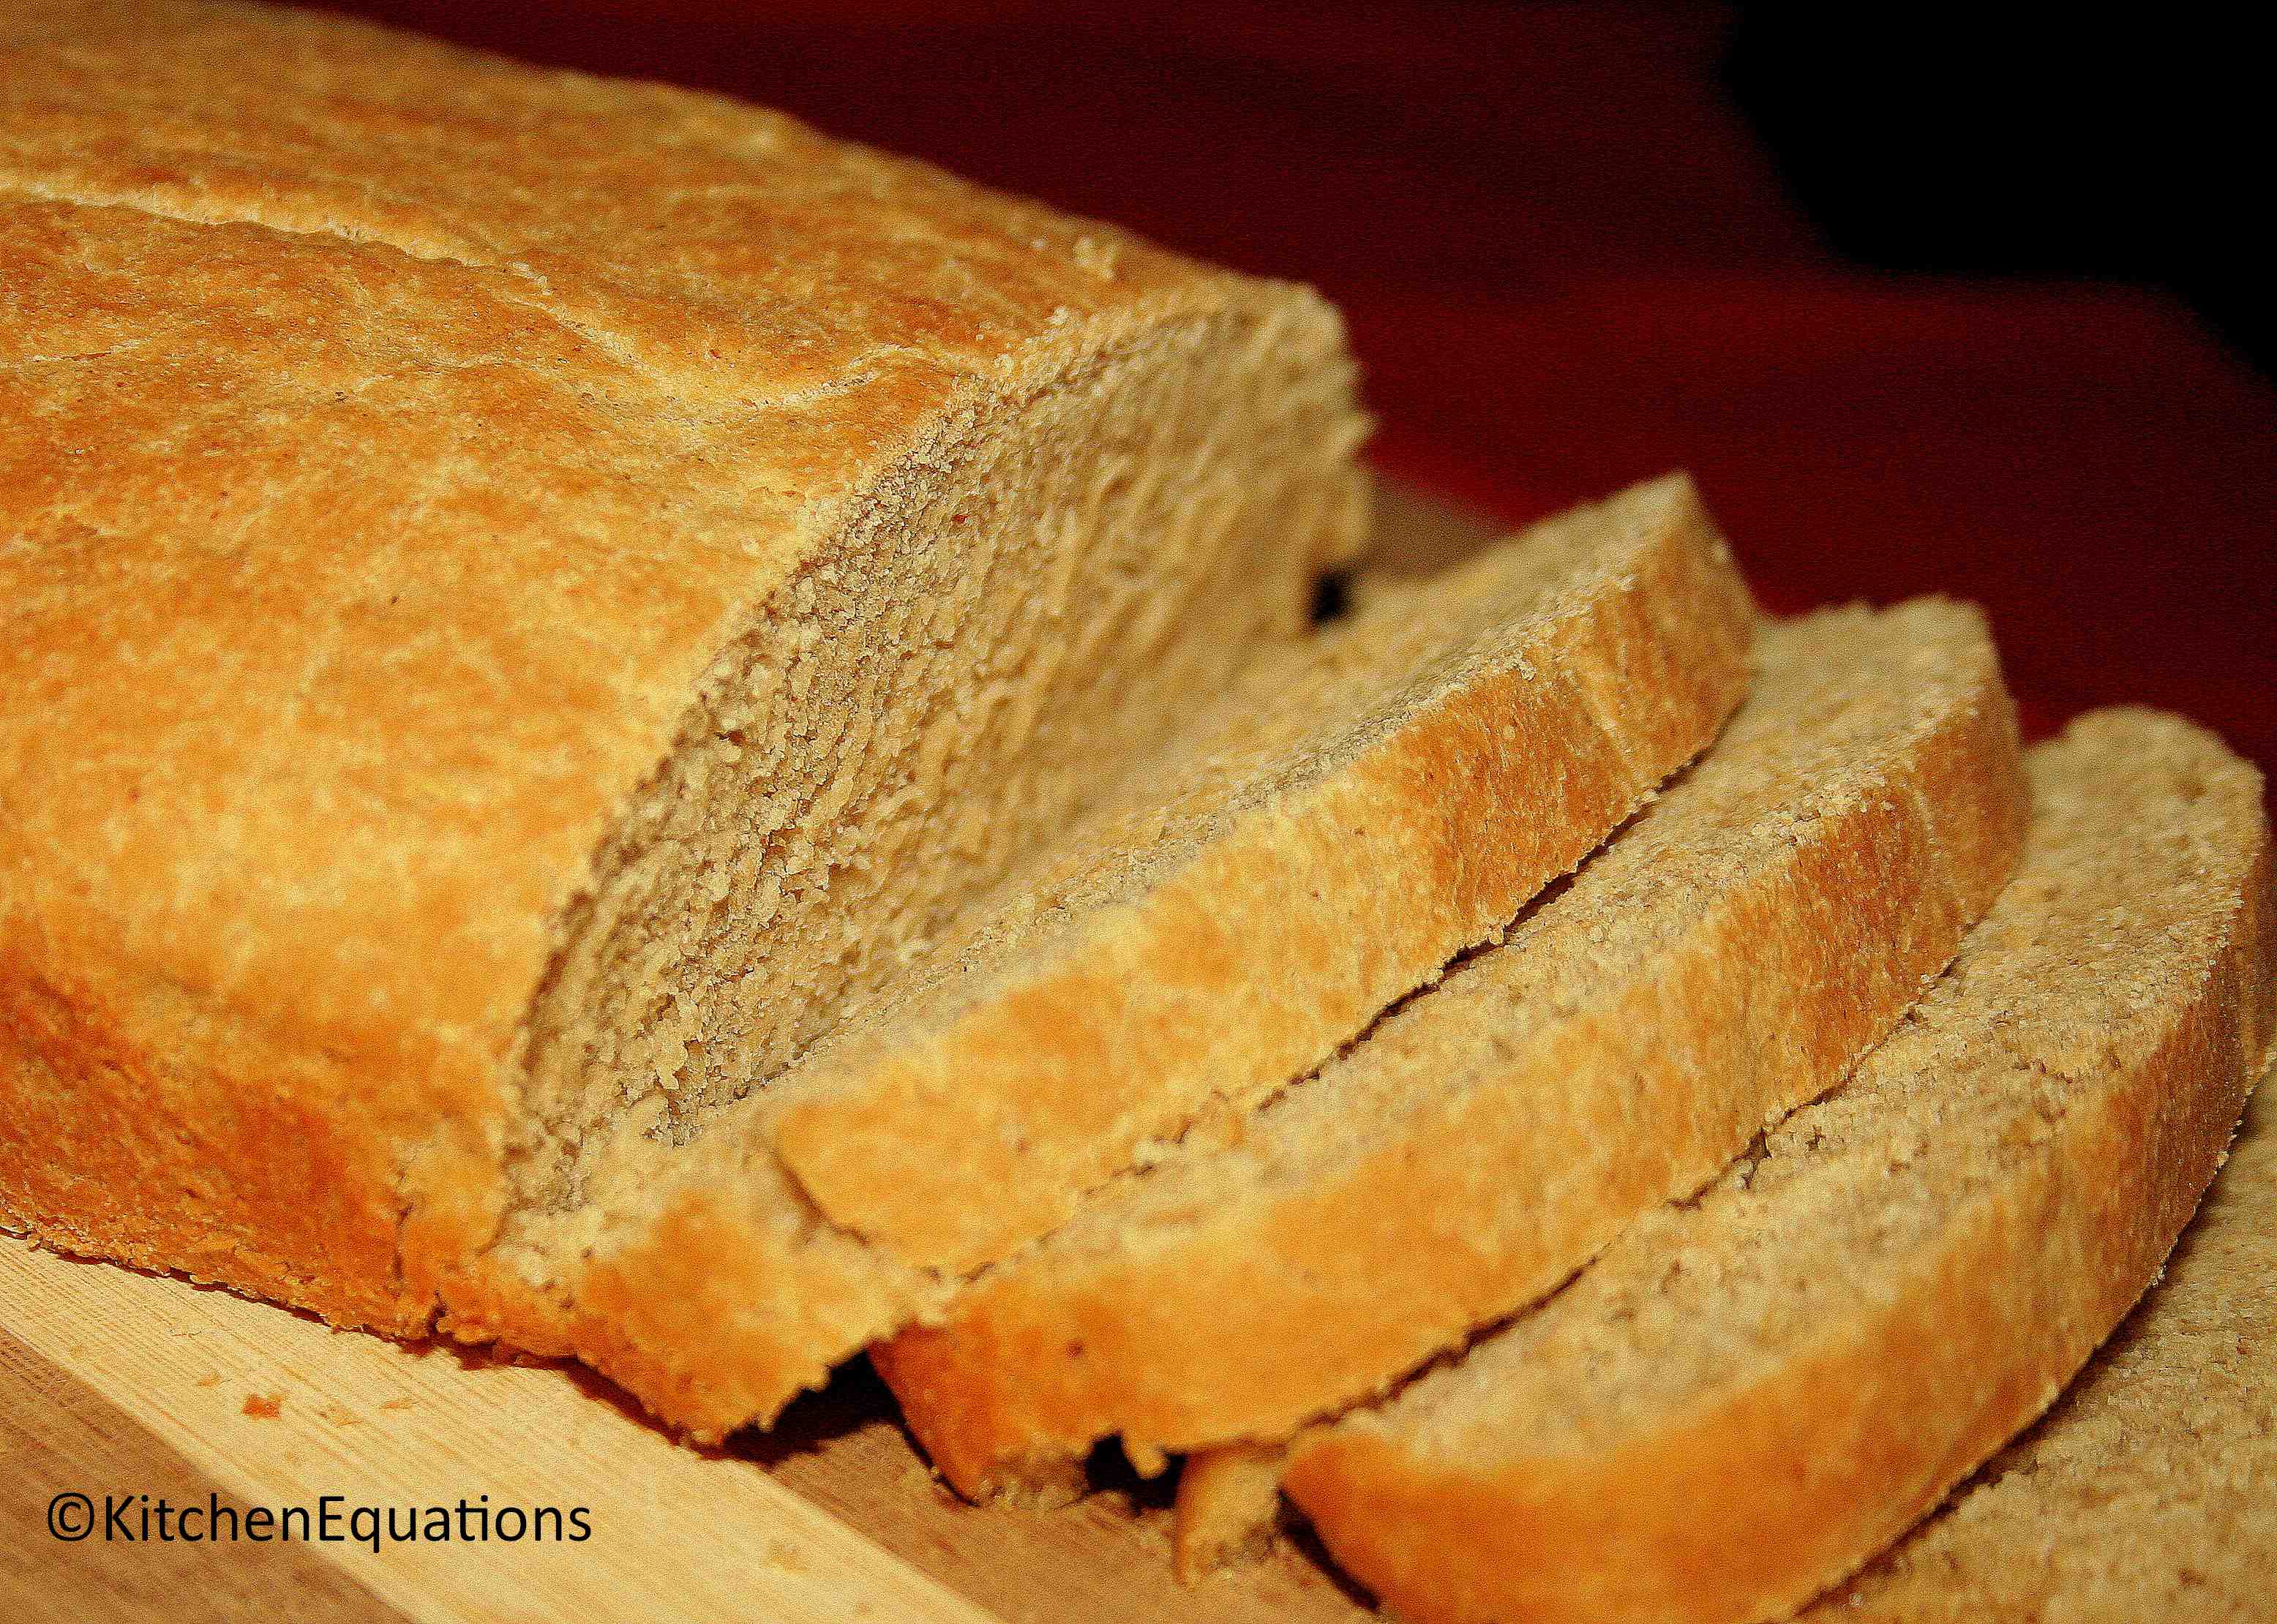
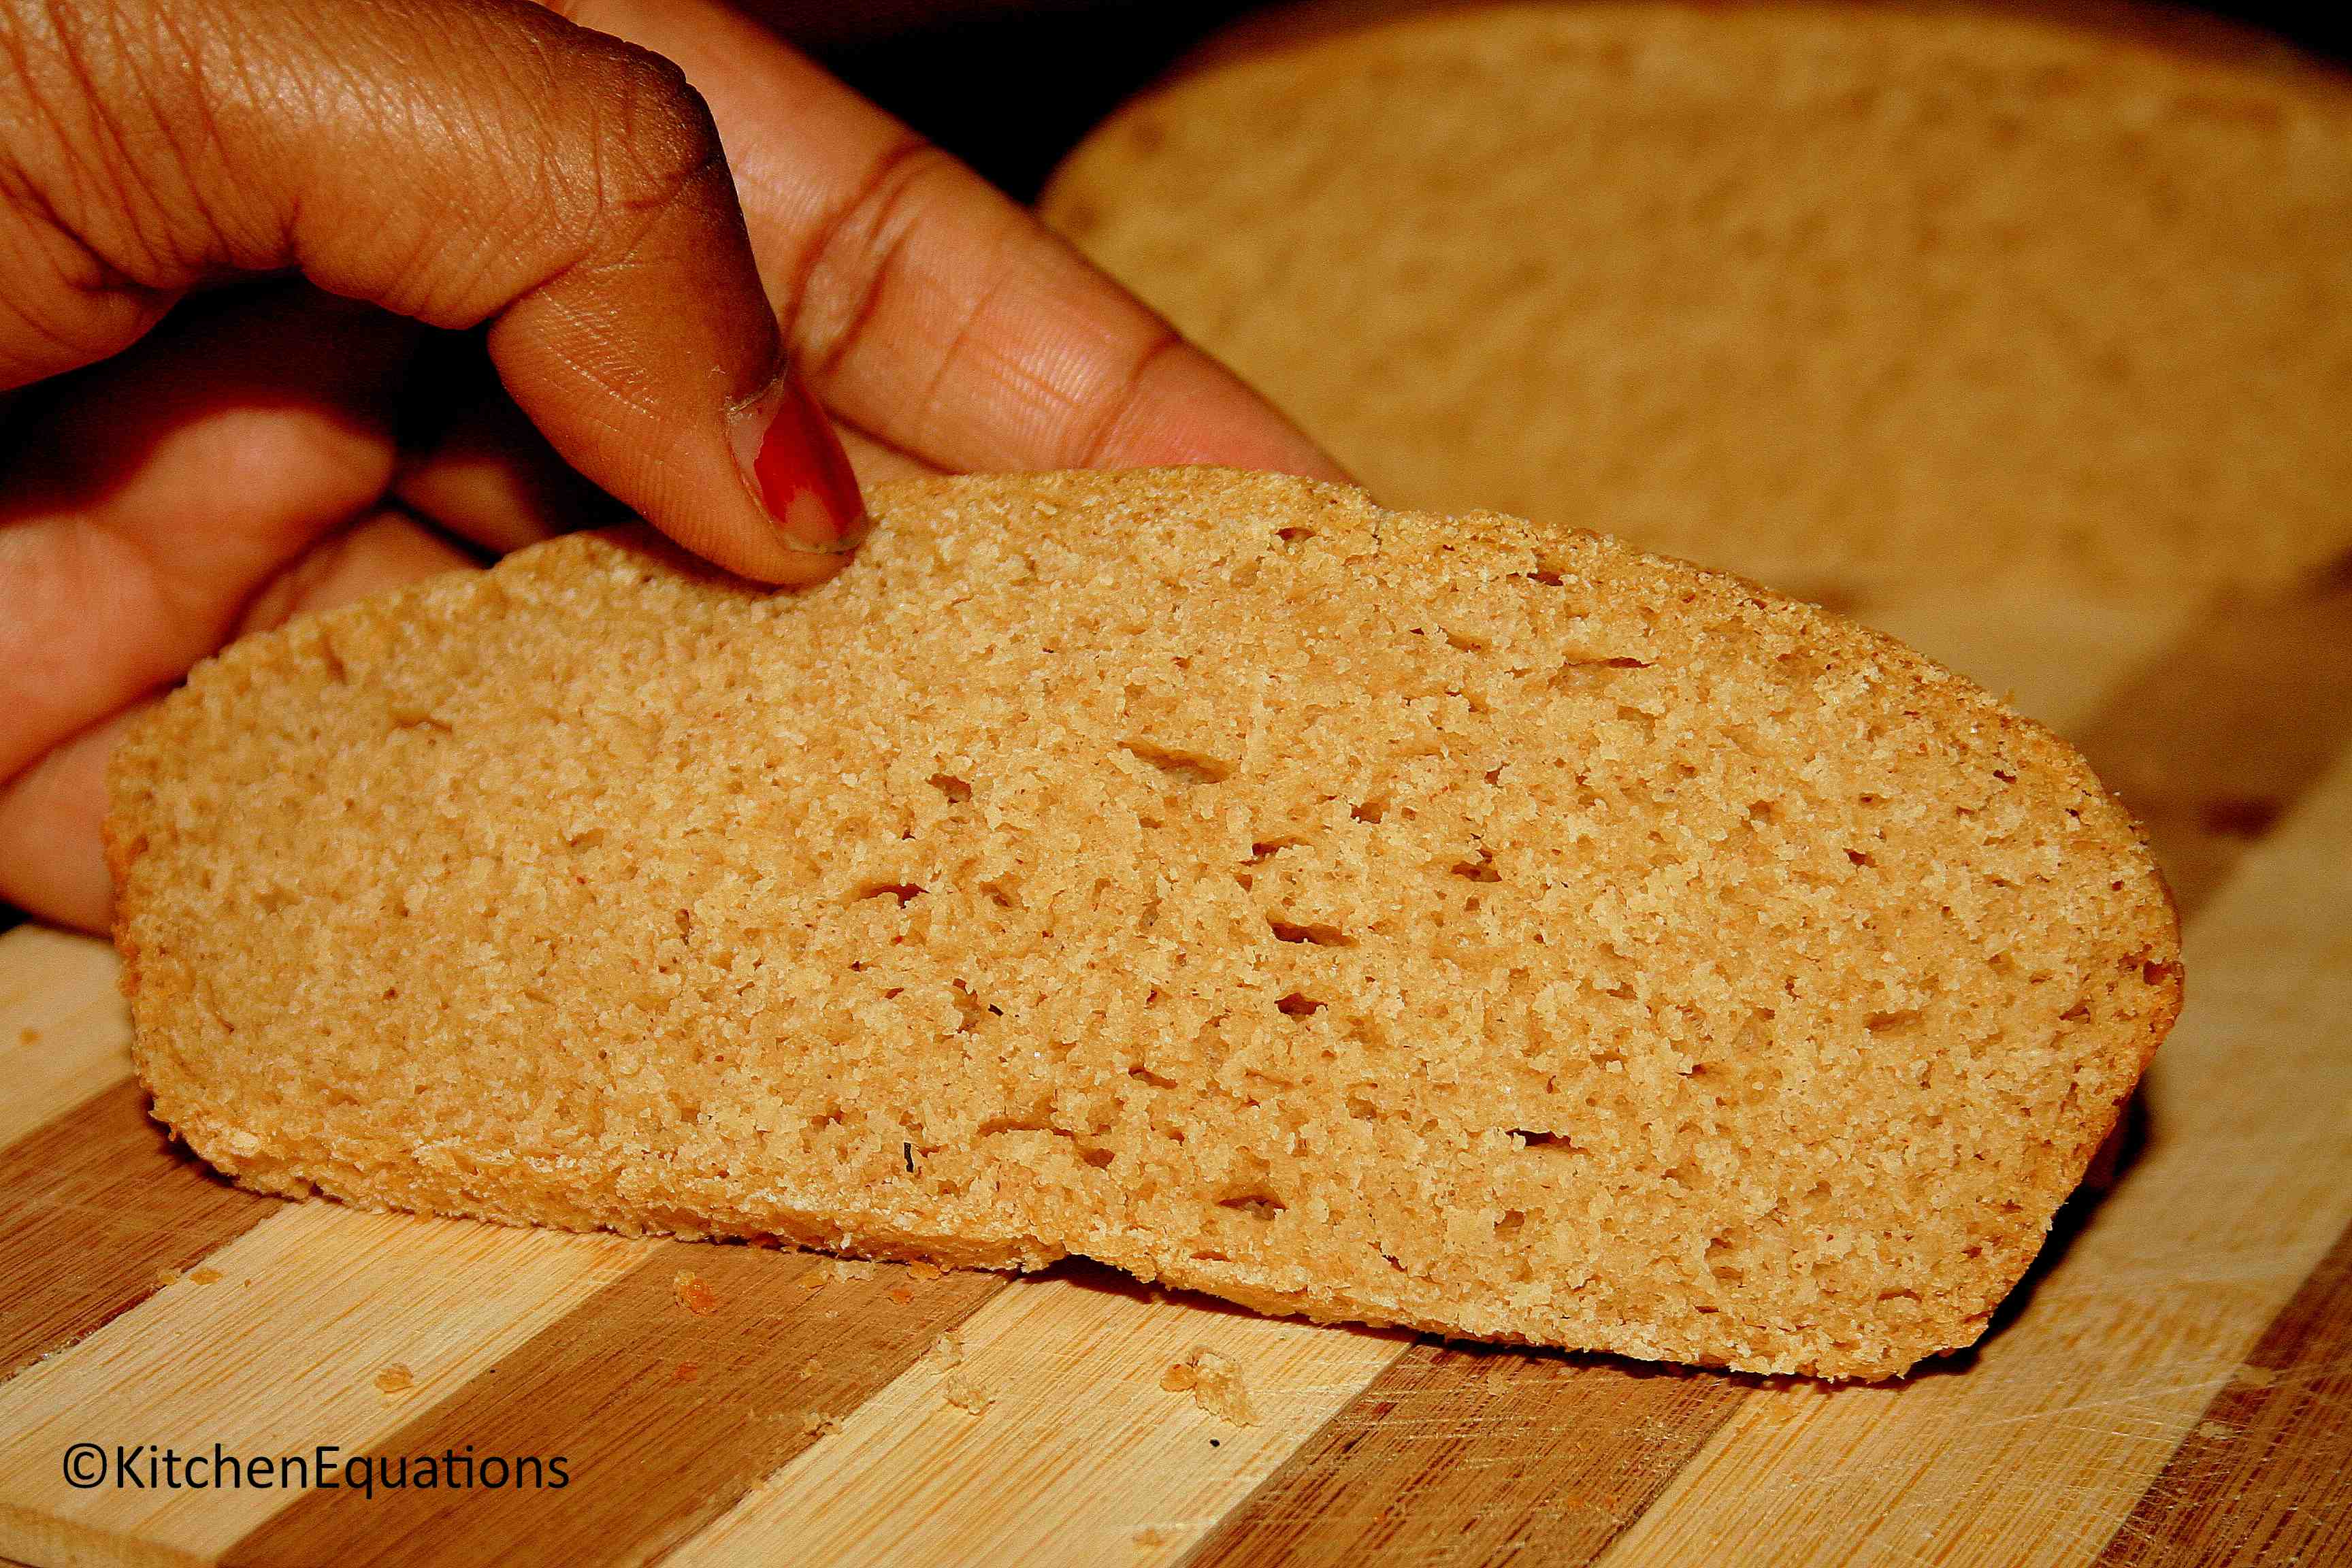
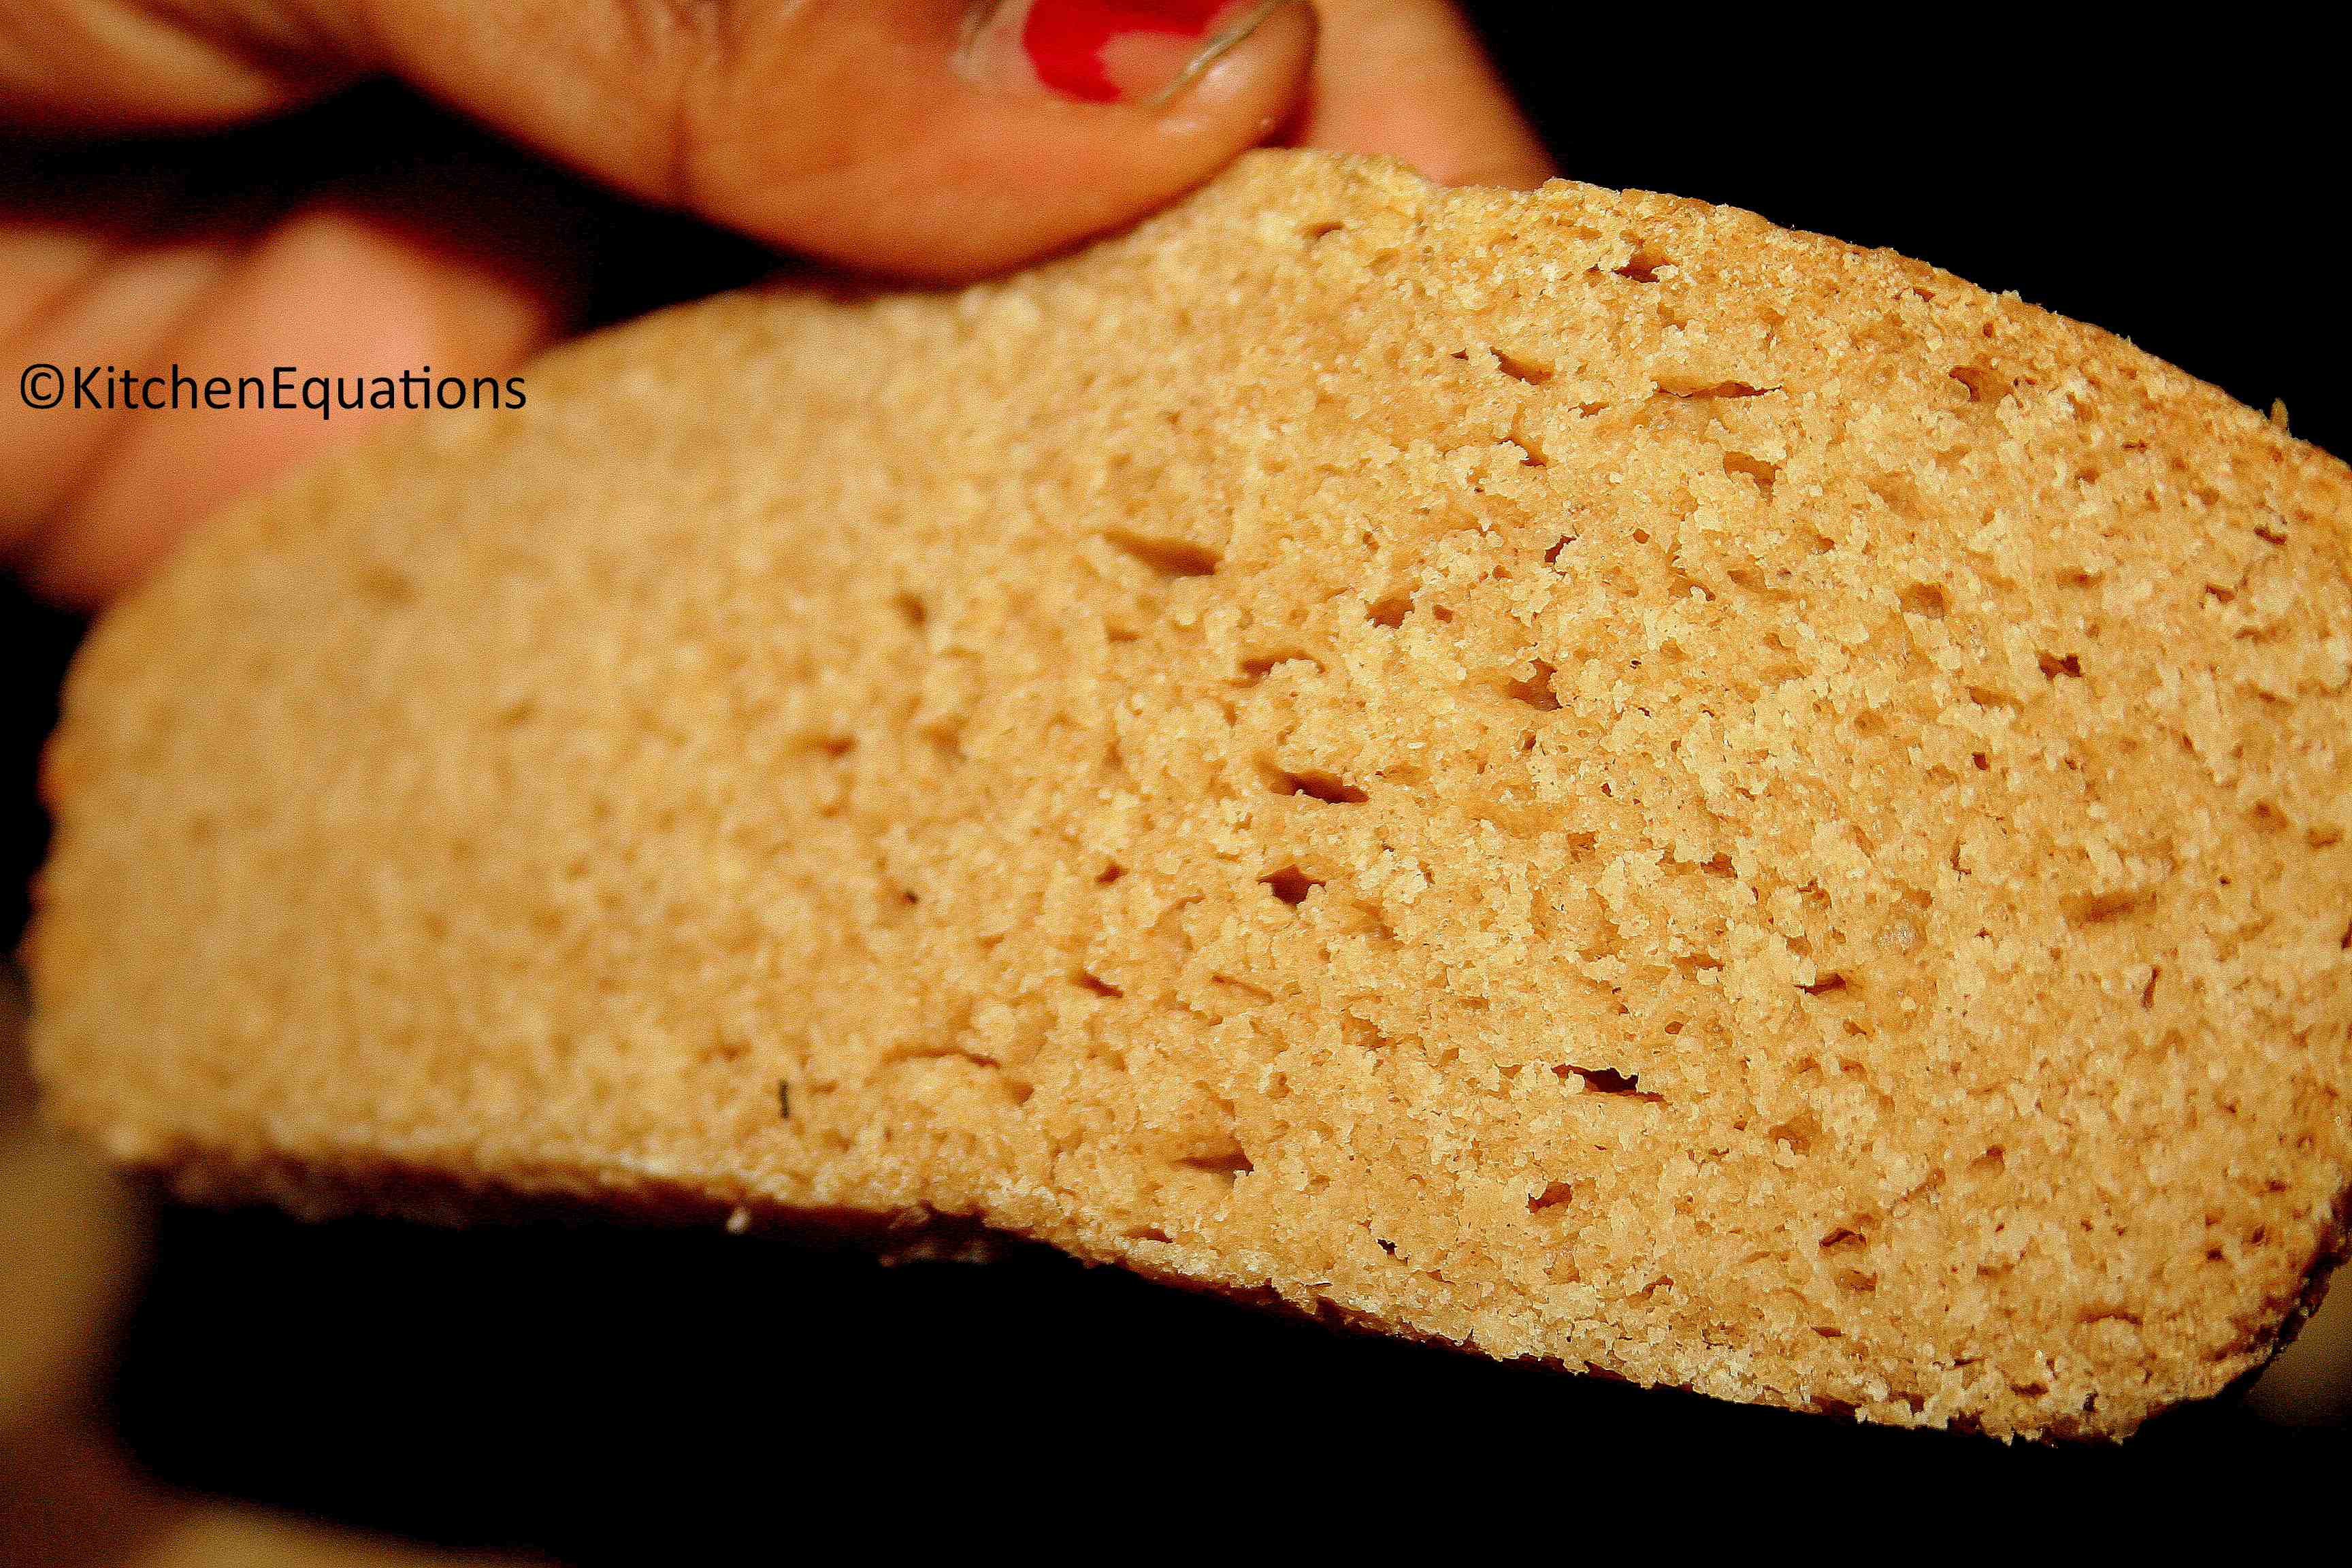
For health reasons, many prefer buying brown bread or multi-grain or whole wheat bread rather than white regular bread. I am no exception, I always look for whole wheat bread. But, last weekend it was not available in the store, so I thought why don’t I try it at home. After I baked it, I was totally surprised with how well it has come!! I mean, I never really knew whole wheat bread without adding any all-purpose flour can be made fluffy, soft and incredibly tasty. You know the first thing my husband said was, “This is our new favorite”. And yes it is. I made it twice this week already 🙂 If you have a baking oven at home, I think this is definitely one for your menu. Try it and be surprised with the outcome 🙂 🙂
Makes: 15-18 slices |
Rise time: 2 hoursBaking time: 25-30 mins |
Ingredients
Whole wheat flour – 2 cups
Active dry yeast – 1.5 tsp
Yogurt/curd/buttermilk – 1/3 cup
Butter/clarified butter/ghee/oil – 2 tbsp
Sugar – 1 tsp
Salt – 1 tsp
Water – enough to make sticky dough
For brushing (May use any one of the below)
Milk – ¼ cup
Butter – 1 tsp, softened
Ghee/oil – 2 tbsp
Procedure:
- Add sugar to about 4 tbsp water and heat it slightly till it is warm. It should not be hot, if you place your finger in it, you should be able to bear the heat.
- Add the yeast, mix once and let it rest in a warm place, preferably in a closed oven till it foams up and becomes creamy. Then the yeast is activated and ready for use.
- Take the wheat flour, yogurt/curd, salt and butter/oil in a large mixing bowl.
- Add the activated yeast and about ½ cup water. Combine well. The dough will be very sticky and messy at this stage, but it is perfect for our bread (if the dough is not sticky, add more water to make it sticky).
- Flour your work surface and knead the dough for about 2-3 minutes till you get soft and smooth dough.
- Place it in a greased bowl and cover with damp cloth or cling film (make sure it is air-tight) and let it rest to rise for atleast 1 hour.
- After an hour, the dough would have risen. Transfer it to your work surface, punch it to release the air and roll it into a log/cylindrical shape and tuck the edges.
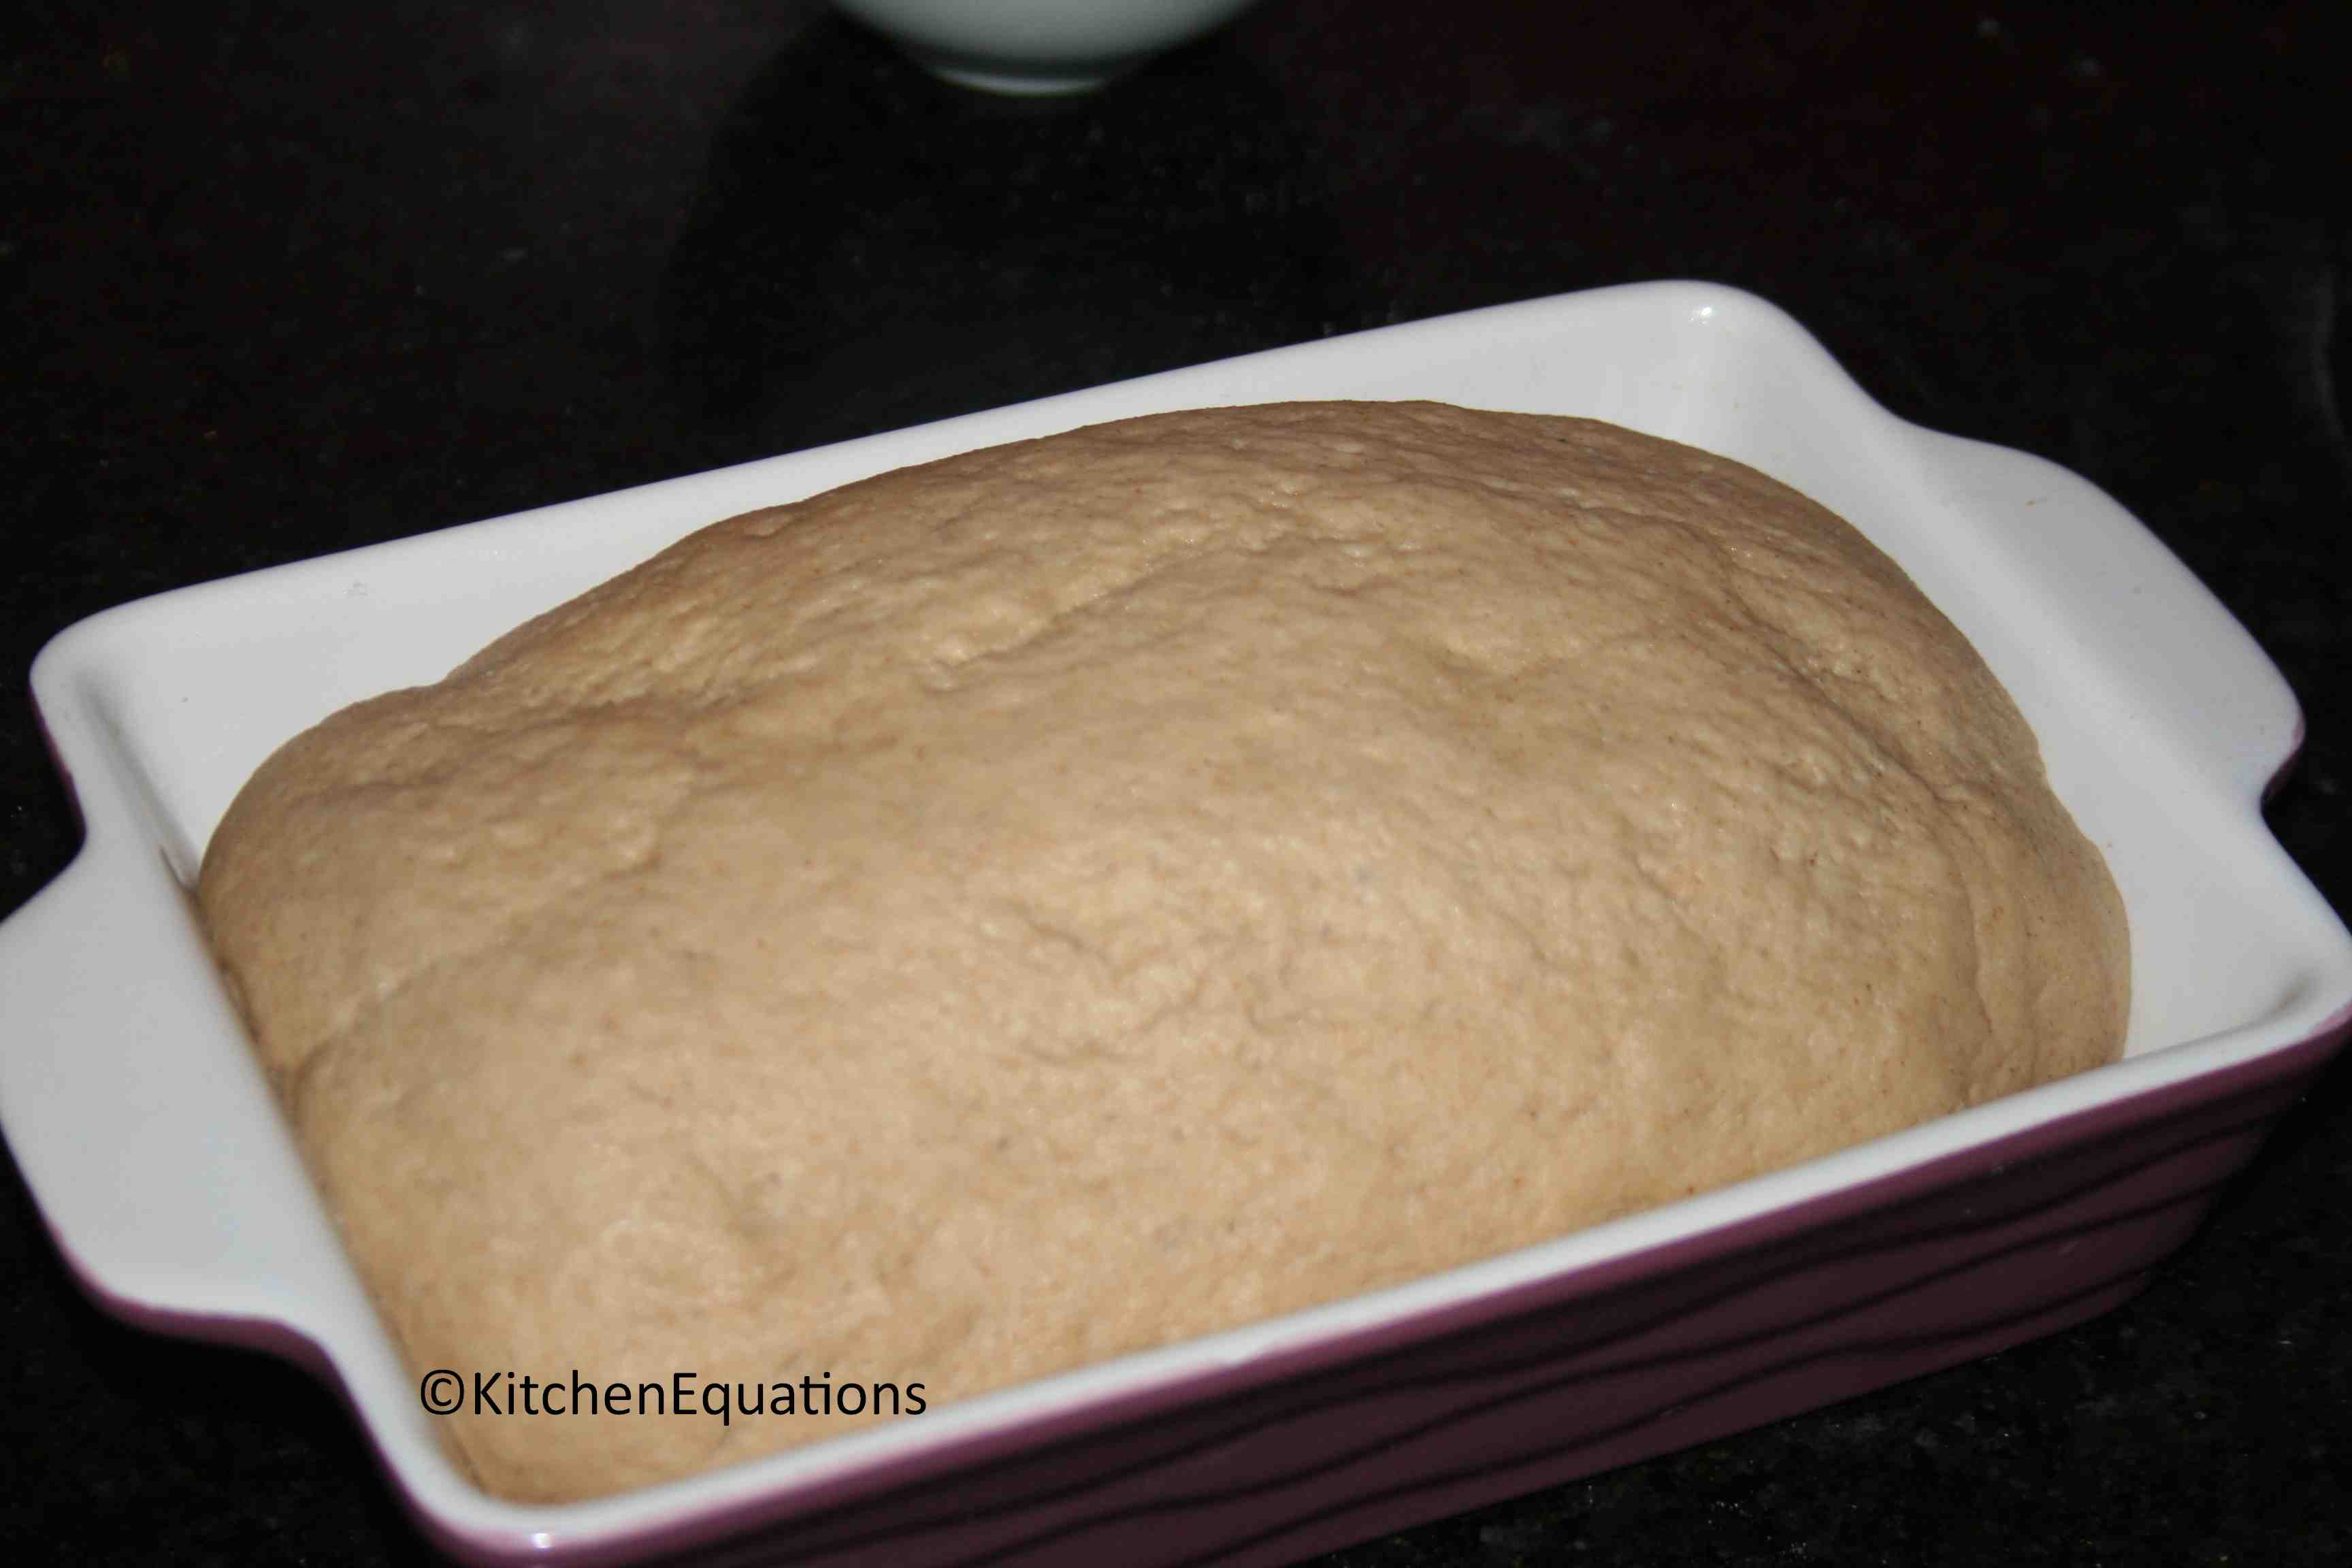
- Place it tucked side down in a greased bread loaf tin/casserole-kind of dish that is rectangular and cover it with a damp cloth. Let it rest for another hour.

- After an hour, brush the top with butter/oil/milk and bake it in a pre-heated oven first at 200°C for 10 minutes and then reduce the temperature to 150°C for 15-20 minutes. When you tap the bread, it should sound hollow.
- Remove from oven; transfer the bread from the loaf tin/casserole dish onto a wire rack to cool completely.
- Then, cut it into slices and enjoy the most satisfying home-made bread.
Note:
- The yeast should rise perfectly to get fluffy bread.
- The dough should initially be very sticky and wet, only then you will get a good texture.
- The same recipe works well with multi-grain flour as well.
- You may add some all-purpose flour as well to this recipe.


Can u please tell me the procedure of making the bread in a micro oven….time n temperature….thnku.
Hi savi,
By micro oven, do you mean the regular microwave oven that has only the ‘microwave’ mode or the OTG oven which has oven, toast and grill/bake options??
Can you please tell me how much 1 cup measures in grams. Thankyou.
Hi lavanya !! 1 cup is approximately 100gms of flour. Tell me how it comes 🙂
I am trying your recipe, pic looks wonderful. Thanks for posting.
Look forward to trying 100% whole wheat bread! Your pictures look lovely! 🙂
Thank you for the appreciation 🙂
Best I want to join.
Lovely! Looks so fresh…may i know where can i get the yeast u have used and which company?
Thanks for reaching out to me Anuradha. If you are in India, you can ask for active dry yeast in any departmental store, it’s available easily. Any brand is fine as long as it has not expired.